How to Set Up a Jekyll Website on Cloudflare Pages with GitHub
Jekyll is a powerful static site generator that’s perfect for building blogs, portfolios, and more. In this guide, you’ll learn how to set up a Jekyll website, host it using Cloudflare Pages, and use GitHub to manage your content and code.
https://developers.cloudflare.com/pages/
Prerequisites
- A GitHub account.
- A Cloudflare account.
- Basic knowledge of Git and GitHub.
- Ruby installed on your machine.
Step 1: Set Up Your Jekyll Site Locally
1.1 Install Jekyll
First, install Jekyll and Bundler using Ruby. Open your terminal and run the following command:
gem install jekyll bundler
1.2 Create a New Jekyll Site
Once Jekyll is installed, create a new site using this command:
jekyll new my-jekyll-site
Replace my-jekyll-site with your desired folder name. This command generates the default Jekyll structure.
1.3 Serve the Site Locally
Navigate into your new site directory and serve it locally to preview it:
cd my-jekyll-site
bundle exec jekyll serve
Now, visit http://localhost:4000 in your browser to see the site.
Step 2: Push the Jekyll Site to GitHub
2.1 Create a GitHub Repository
- Log in to your GitHub account.
- Create a new repository (name it something like
my-jekyll-site). - Do not initialize it with a
README.mdor.gitignorefile—Jekyll will handle that.
2.2 Add the Repository as a Remote
In your terminal, initialize the Git repository in the Jekyll site folder:
git init
Add your newly created GitHub repo as the remote:
git remote add origin https://github.com/your-username/my-jekyll-site.git
2.3 Push the Code to GitHub
Now, commit your changes and push them to GitHub:
git add .
git commit -m "Initial commit"
git branch -M main
git push -u origin main
Replace your-username with your GitHub username.
Step 3: Set Up Cloudflare Pages for Hosting
3.1 Create a Cloudflare Account
If you don’t have a Cloudflare account, go to Cloudflare Pages and sign up for free.
3.2 Create a New Project in Cloudflare Pages
-
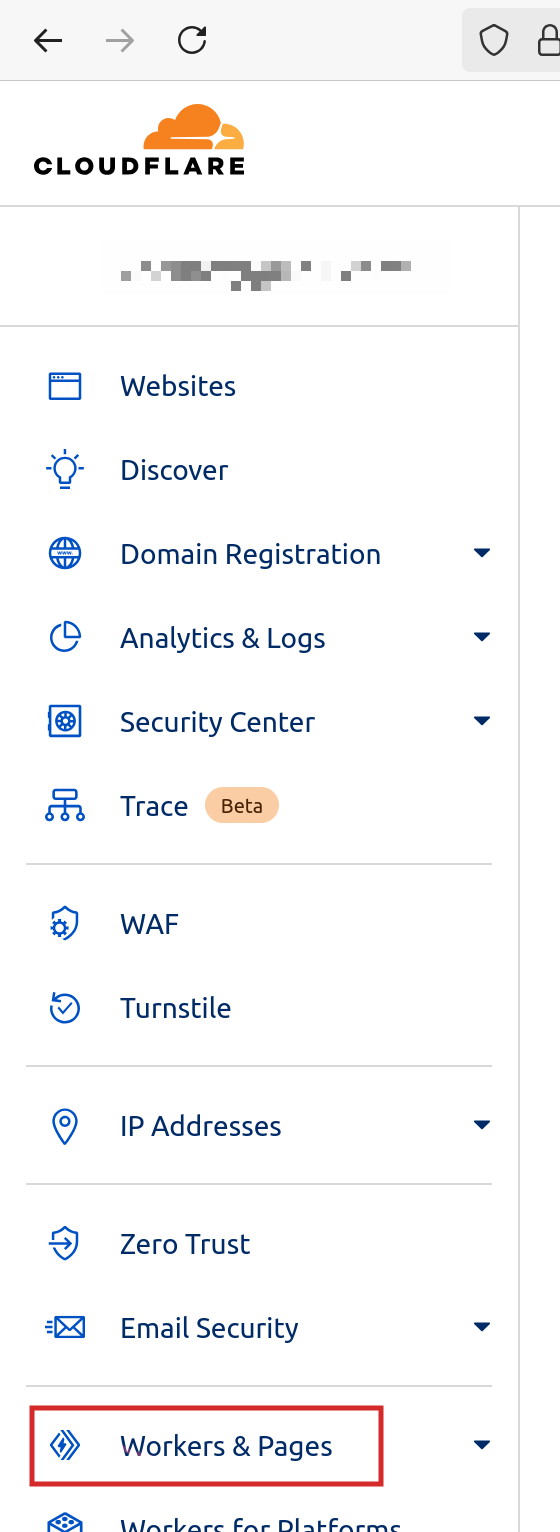
Once logged in, navigate to Cloudflare Pages.

- Click Create a project.
- Choose Connect to GitHub and authorize Cloudflare to access your GitHub account.
- Select the my-jekyll-site repository you pushed in step 2.
3.3 Configure the Build Settings
Cloudflare Pages will detect that your project uses Jekyll. Set the following build settings:
- Build command:
jekyll build - Build output directory:
_site
Click Save and Deploy. Cloudflare will automatically build and deploy your Jekyll site.
Step 4: Set Up Custom Domains and SSL
4.1 Add a Custom Domain (Optional)
If you have a custom domain, you can add it to Cloudflare Pages:
- In the Cloudflare Pages dashboard, select your project.
- Go to the Custom domains tab.
- Click Set up a custom domain and follow the instructions to point your domain to Cloudflare.
4.2 Enable HTTPS
Cloudflare provides free SSL certificates. Once your custom domain is set up, Cloudflare will automatically issue and apply the SSL certificate, enabling HTTPS for your site.
Step 5: Continuous Deployment with GitHub
Cloudflare Pages will automatically rebuild and redeploy your site every time you push changes to the GitHub repository. Here’s how it works:
- Make changes to your Jekyll site locally.
- Commit the changes:
git add .
git commit -m "Update content"
- Push to GitHub:
git push origin main
Cloudflare will detect the changes, rebuild the site, and deploy the new version automatically.
Conclusion
Congratulations! You’ve successfully set up a Jekyll website hosted on Cloudflare Pages with GitHub for version control. Your site is now live with automatic deployments every time you push changes to GitHub.
You can further customize your site by modifying themes, adding plugins, and optimizing for SEO.
Enjoy building with Jekyll and Cloudflare Pages!